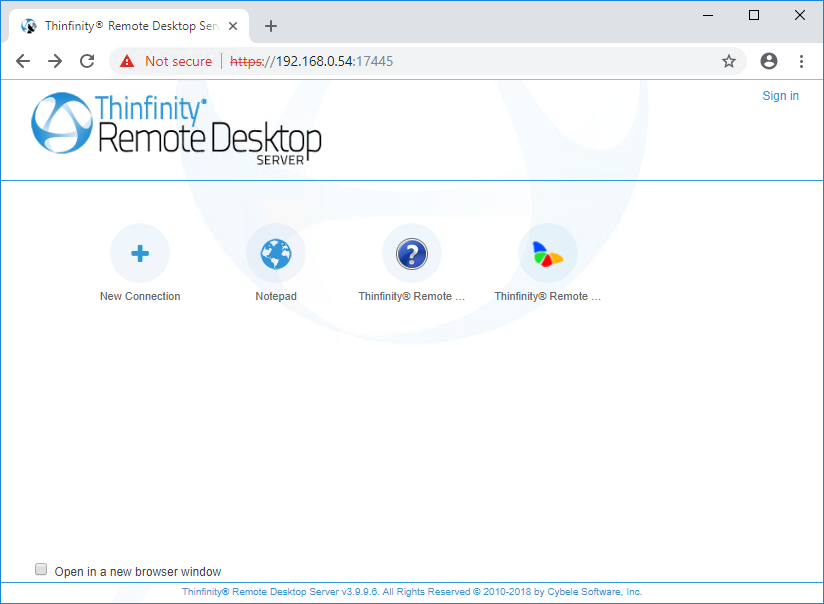
In order to connect to a remote desktop using Thinfinity® Remote Desktop Server, open a browser and type the Thinfinity® Remote Desktop Server url, which is composed by https://Server IP:Port.
1. You will be asked for the application login (user and password). This step may be skipped for some access security level configuration: if you have the authentication set to none, or the Allow anonymous access option enabled in all the access profiles, the application will take you directly to the next step.
2. You will be presented with the following screen :

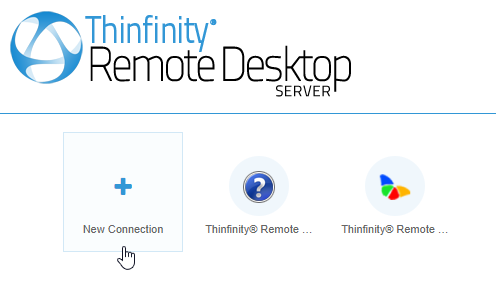
The "New Connection" option represents the Any Computer profile: it enables the user to type the remote computer's IP and credentials, and configure the connection.

What you see depends on what is available for the authenticated user: When the Any Computer profile is the only one available, you will see that screen. If the Any Computer profile is not available, but you have access to other profiles, you will see the access profiles screen. If the authenticated user has access to both the Any Computer profile and other(s) profile(s), you will see an arrow to the right of the screen. Use it to switch between the Any Computer profile and the other(s).
3. Check the "Open in a new browser window" option, if you want the connection to be open on a new tab.
4. Connecting to an Access Profile:
A) Click on the profile you want to connect to.
B) You won't be allowed to change the computer's IP or the RDP options at this moment, because these are already set for each profile.

5. Connecting to Any Computer:
a) If you are in the access profiles page, click on the arrow to the left of the screen to go back to the Any Computer profile.
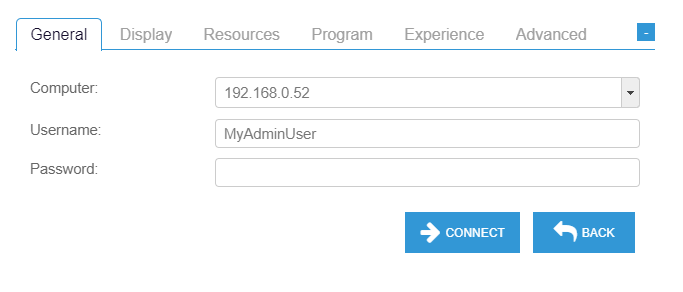
b) Enter the internal IP/host name for the computer you want to access and press connect.
c) Optionally you can specify the Username and Password so that it will be auto completed in the remote computer's dialog and stored by the browser for future access.
d) You can also change the RDP options by pressing the plus [+] sign in order to show the settings tabbed interface.
e) Read more about each option on the Web Interface Settings section.
Read more: