In the Thinfinity VirtualUI Manager 'Sessions' tab you will find the following options:
Standard Mode Installation:
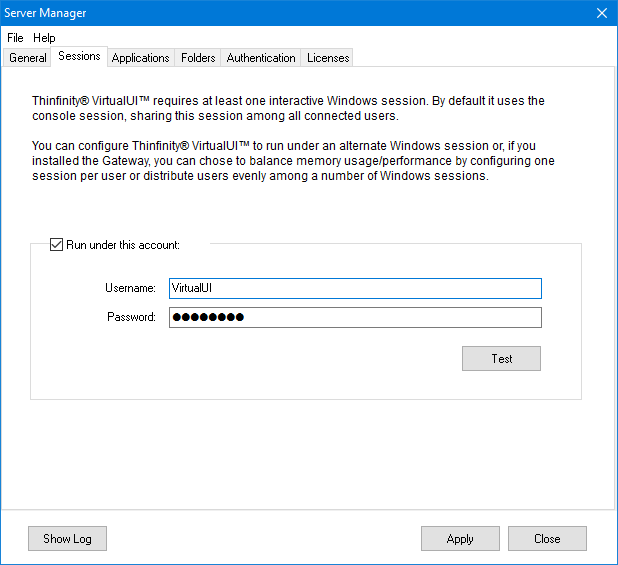
Run under this account |
Check this option to enable Thinfinity VirtualUI to run applications under a separate Remote Desktop Services session. |
User name |
Enter the username for the Remote Desktop Services session you want Thinfinity VirtualUI to run applications under. |
Password |
Enter the password for the Remote Desktop Services session you want Thinfinity VirtualUI to run applications under. |
Test |
Test the credentials entered to verify that the username and password are correct and can access RDS. |
Load Balancing Mode Installation:

User name |
RDS user that will be used for Load Balancing purposes |
Password |
Configures the user password |
Session sharing |
Checking this option will split all new application instances in the amount of RDS users established in the "Session count" field. |
Session count |
Establishes the maximum amount of RDS users that will spawn on the server. |
Always remember to press 'Apply' in order to save the changes.
Read more: