To add a new Y-Modem File Transfer Job to the Queue, follow these steps:
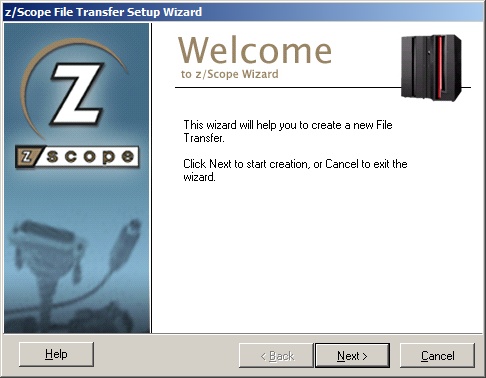
1. Click on the 'Add a New Transfer' button to launch the File Transfer Setup Wizard. Then click 'Next'.
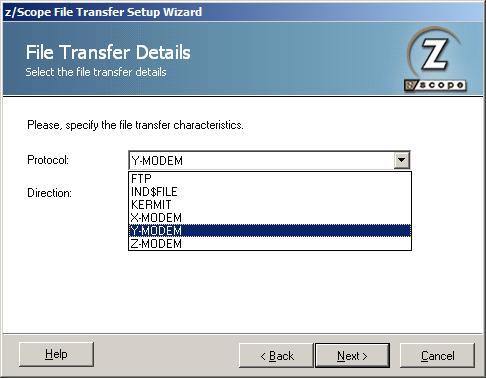
2. Specify the file transfer characteristics. Set the protocol to X-MODEM. Then click 'Next'.
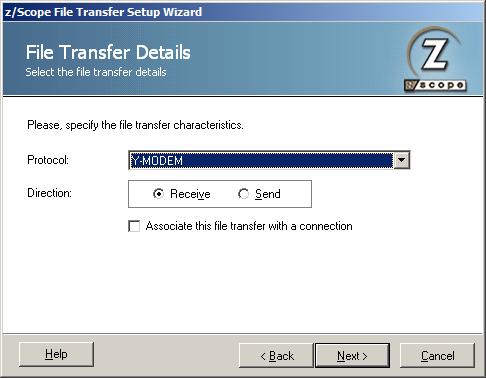
3. The Direction indicates if you are setting a download (RECEIVE) from the host to the PC, or an upload (SEND) from the PC to the host. You have the option to associate the file transfer with an existing connection. You can either select it or leave it blank according to your preferences. Then click 'Next'.
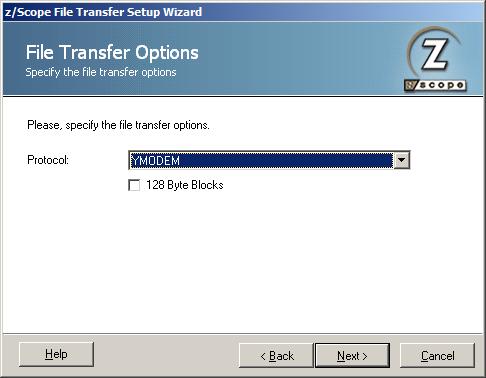
4. Choose from the combobox the specifical Y-MODEM protocol you need to use: YMODEM or YMODEM-G. There is also an option to make transfers using blocks of 128 bytes. Once you select the settings you need, click on 'Next'.
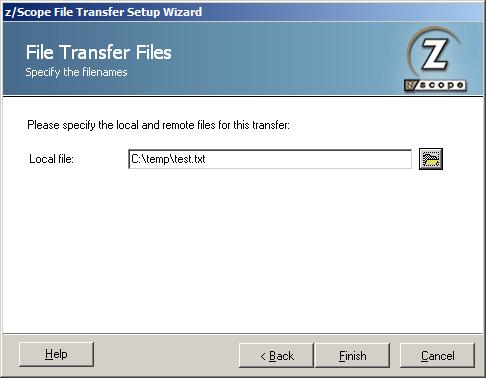
5. On the following screen you just need to specify the local file and click 'Finish'.
Once you finish the Setup Wizard the new file transfer job you specified will appear in the Static Queue.
In the future, whenever you need to change the File Transfer settings you can either click the 'Edit' button on the main menu or make a right click on the File to select the 'Edit' option.