Auto-fills are easily created through the Auto-fill Wizard.
First of all, type the text string you want to define as an Auto-fill into the corresponding input field and then press the Auto-fill Wizard button: ![]()
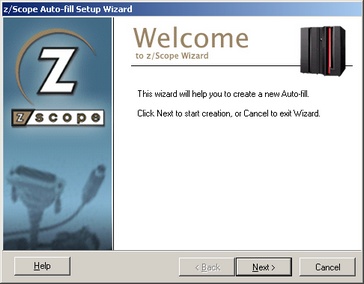
After that, you will be presented with the Auto-fill Wizard welcome screen.

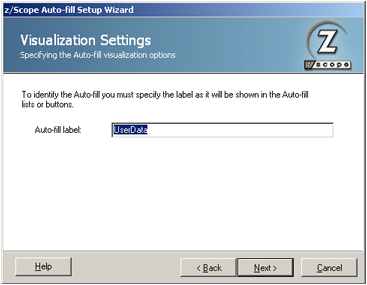
Click on 'Next' to go to the next step, in which you will have to specify the following parameters:

Auto-fill label
In this field you must enter a label for the Auto-fill button.
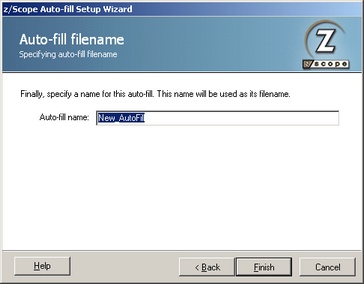
Click on 'Next' to go to the last step of the Auto-fill creation process.

Auto-fill name
In this field you must enter a file name for the Auto-Fill you are creating.
Click on 'Finish' to confirm the new Auto-fill creation. Otherwise, click on 'Cancel' to discard the whole procedure.
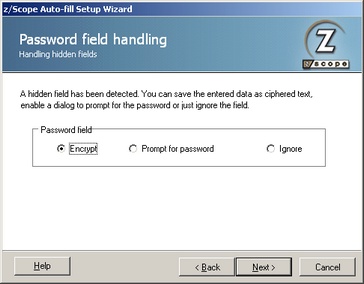
If the 'Auto-fill Wizard' is invoked from a password input field, the first dialog that you will see after the Welcome dialog will be the 'Password field handling' dialog, in which you can choose one the following options:

Encrypt
Select this option if you want the text string to be stored encrypted. This is the same as setting the 'Switch to encrypted field' option in the 'Screen Fields' tab of the 'Auto-Fills Settings' dialog.
Prompt for password
Select this option if you want to be prompted for the password of filling it automatically.
Ignore
Select this option if you don't want the Auto-fill to complete this field. Every other field will be completed, except for the password field that will be left to be filled manually by the user.
To learn how to use Auto-fills, see the next topic:
Related Topics