Navigators are easily created through the 'Navigator Wizard' button in the main connection toolbar.
![]()
First of all, you will be presented with the 'Navigator Wizard' welcome screen.
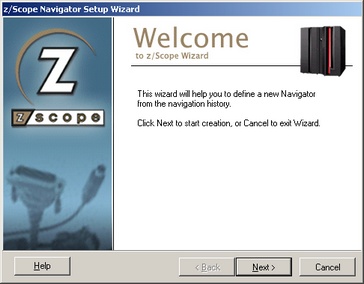
Click on 'Next' to go to the next step, in which you will have to specify the start screen for the automated navigation sequence.
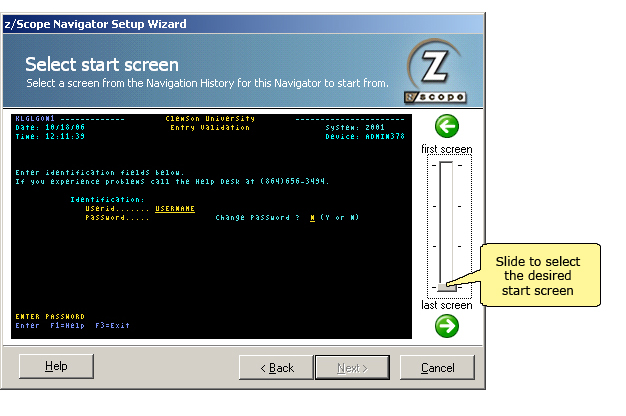
Scroll through the navigation history using the slide bar until you locate the desired start screen. You can also use the arrows to select the desired screen. Click on 'Next' when done.
Now proceed in the same way for the desired End screen.
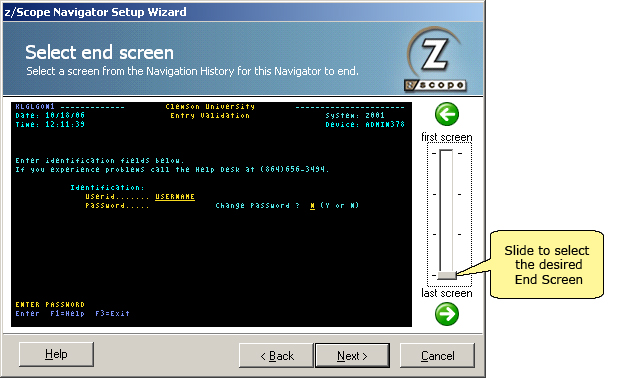
Once you are done selecting both Start and End screens, click on 'Next' to go to the next step, in which you can choose to create a new Navigator or join it to an existing one in the following dialog:
|
This screen will not appear if you have no other Navigators configured. You will be presented with the Visualization Settings screen instead. |
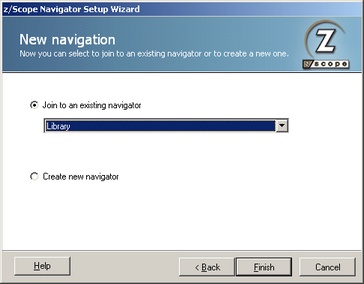
Join To An Existing Navigator
In this list you will find available Navigators that have the same end screen as the one you are creating. Choose the one the current Navigator will be joined with and then press Finish to exit the Navigator Wizard.
Create New Navigator
By choosing this option you will create a new Navigator with a new name and label. Press Next to continue and enter Visualization Settings.
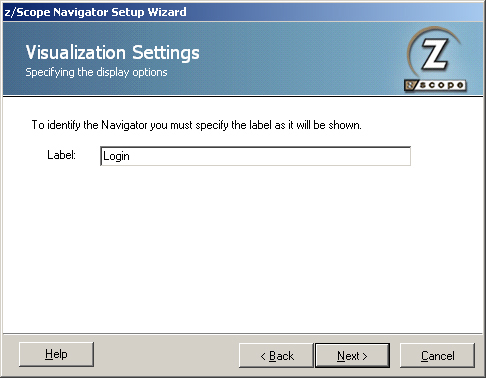
Label
In this field you must enter a caption for the Navigator's button. This label name will be seen in the drop down menu of the Play Navigator button in the main toolbar and in the proper navigation button in the Navigator toolbar.
Finally, click on 'Next' to go to the last step of the Navigator creation process.
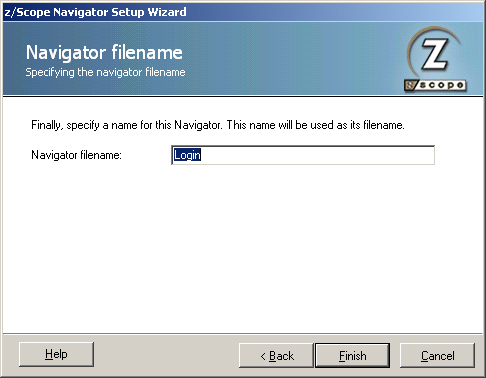
Navigator Filename
In this field you must enter a file name for the Navigator you just created.
Click on 'Finish' to confirm the new Navigator creation. Otherwise, click on 'Cancel' to discard the whole procedure.
To learn how to use Navigators once they have been created, see the next topic:
Related Topics