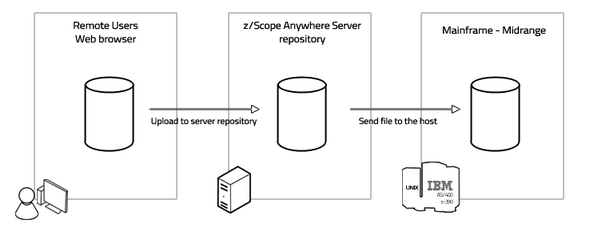
An upload from your local device to the host should be done in two steps, as shown in the image below:

Upload the File to z/Scope Anywhere Server:
1. Open an existing connection in the Start Page.
2. Click on the File Transfer context menu item.
|
Click on the 'File Transfer' option in the connection menu and the 'File Transfer Manager' will be presented |
3. Go to the the 'File' tab, and click on the 'Upload' button. Wait for the file to be completely uploaded into z/Scope Anywhere Server.
4. Observe that the file is now listed on the 'Remote Files' list.
Send File to the Host:
Once you have uploaded the file to z/Scope Anywhere Server you can send it to the host.
1. Go to the 'Queue' tab and click on the 'Add' button to create a new job. Set the direction to 'Send'. Set up all the other parameters.
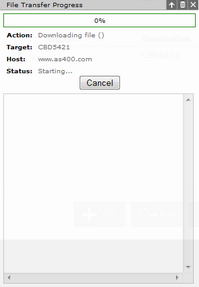
4. Select the created job and click on the bottom 'Run' button. The progress dialog will be shown:

5. Once the File Transfer has finished, you will be redirected to the 'History' tab, where this job's status will be logged.
Read More: