When you need to start a file transfer on z/Scope Workbench edition, all you have to do is click on the 'Show File Transfer Manage' button in the connections toolbar, on the right hand side.
![]()
If a connection is already opened, you will also have the 'Upload/Download' buttons in the main toolbar.
|
File Upload Use this button to upload a file from your PC to a tn3270 or tn520 host. |
|
File Download Use this button to download a file from a tn3270 or tn520 host to your PC. |
The 'File Transfer' dialog will be shown, in which you can specify the file/s you want to Upload/Download, as well as many other settings.
This is how the File Transfer dialog looks like:

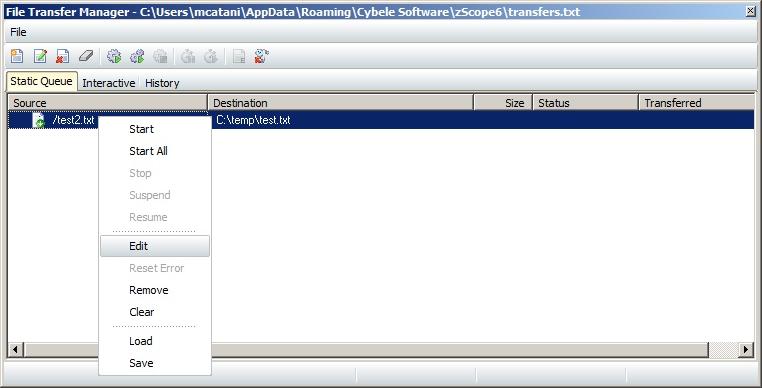
The File Transfer Manager allows you to transfer files using the following protocols: FTP, IND$FILE, KERMIT, X-MODEM, Y-MODEM and Z-MODEM. It allows you to define the parameters for a particular file transfer job and then integrate that job into a Static Queue that contains all your previously defined file transfers jobs. You can then easily mark the desired jobs from the Static Queue to the Interactive and start transferring them with a single click. The File Manager will automaticaly keep a History of all the transfers.
The parameters available will vary according to the protocol you choose:
| • | FTP |
| • | To add a new File Transfer Job to the Queue, follow these steps: |
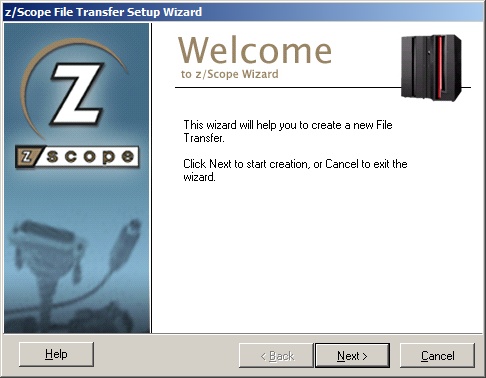
| 1. | Click on the 'Add a New Transfer' button to launch the File Transfer Setup Wizard and click on Next. |

| 2. | Select the appropriate protocol (FTP, IND$FILE, KERMIT, X-MODEM, Z-MODEM, Y-MODEM) and follow all the steps given. |
| 3. | Click on the 'Finish' button to save your file transfer settings. |
The new file transfer job you specified will now appear in the Static Queue.
| • | To work with an already added Job, you can either use the buttons on the main menu or make a right click over it to see the available commands. |

| • | The changes will be automatically applied to the queued item as you make them. |
| • | To delete a file from the list, proceed this way: |
1. Select the job you want to delete from the Queue.
2. Click on the 'Delete' button.
The job you selected will be removed from the Queue.
| • | To start transferring files, do the following: |
| 1. | Select the desired files in the Static Queue. |
| 2. | Click on the 'Start' button. |
Those files that have been selected will be transferred. To transfer all files listed, click on the 'Start All' button.