Once a connection is established you have the possibility to perform File Transfers operations between the remote machine and the local computer:
1. Click on the connection middle top arrow, and the toolbar will be presented.
![]()
2. Click on the "File Manager" option, located inside the File Transfer toolbar option. If the button is not available ask the system administrator to set you the permissions for it.

Upload |
Click on this option to upload a file located on the local computer into the remote desktop. A window will be opened so that you can select the file to be uploaded. |
Download |
This option enables you to download any file located inside the Intermediate disk. Select the file on the presented list and press the "Download" button. |
File Transfer |
This option will give you access to the File Transfer Manager. |
|
See also, the option to Automatically download any newly-added file. |
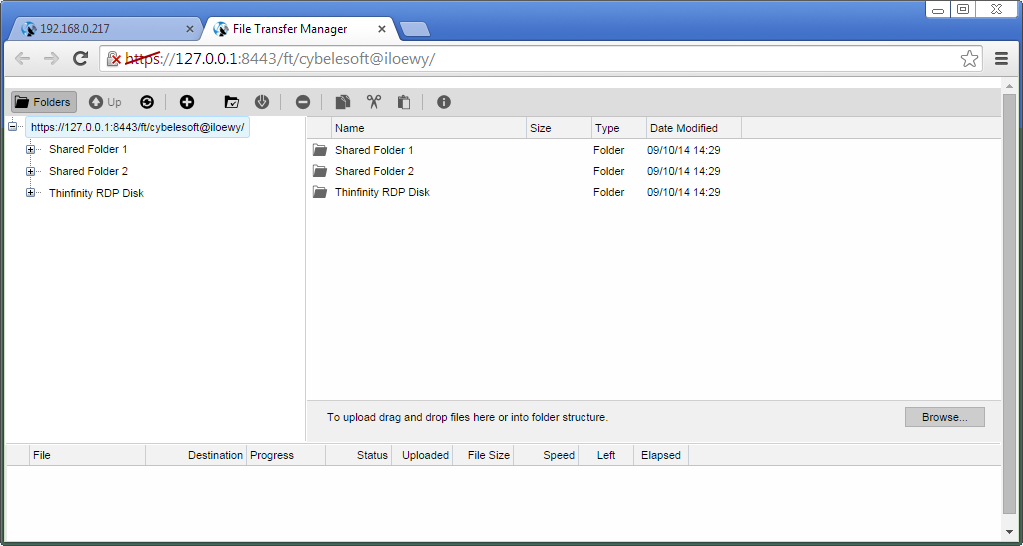
3. This is the screen where you can manage files and also transfer them.

4. Observe that the "Shared Folders" and the "Intermediate disk" are the only remote directories available to exchange files with. If you need to download or upload remote files from the file manager, you should always move them first into these directories (they are going to be mapped drives also), and after that transfer to the desired location.
Read more: